
Aren't they gorgeous!? Even a few of the jalapenos turned red! So now I have my veggies, its time to get things prepped for some simple pickling. Now this is a simple dill brine, so its a little sweet, a little salty. But very easy to make. First you need some equipment:
Large pot for brining
Large pot for processing cans
Canning basket or something to keep jars from touching the bottom of the pan
Jar lifter or something to remove jars from pot
Jars with caps and bands
Ladle
Funnel
Magnetic cap lifter
Cooling wrack
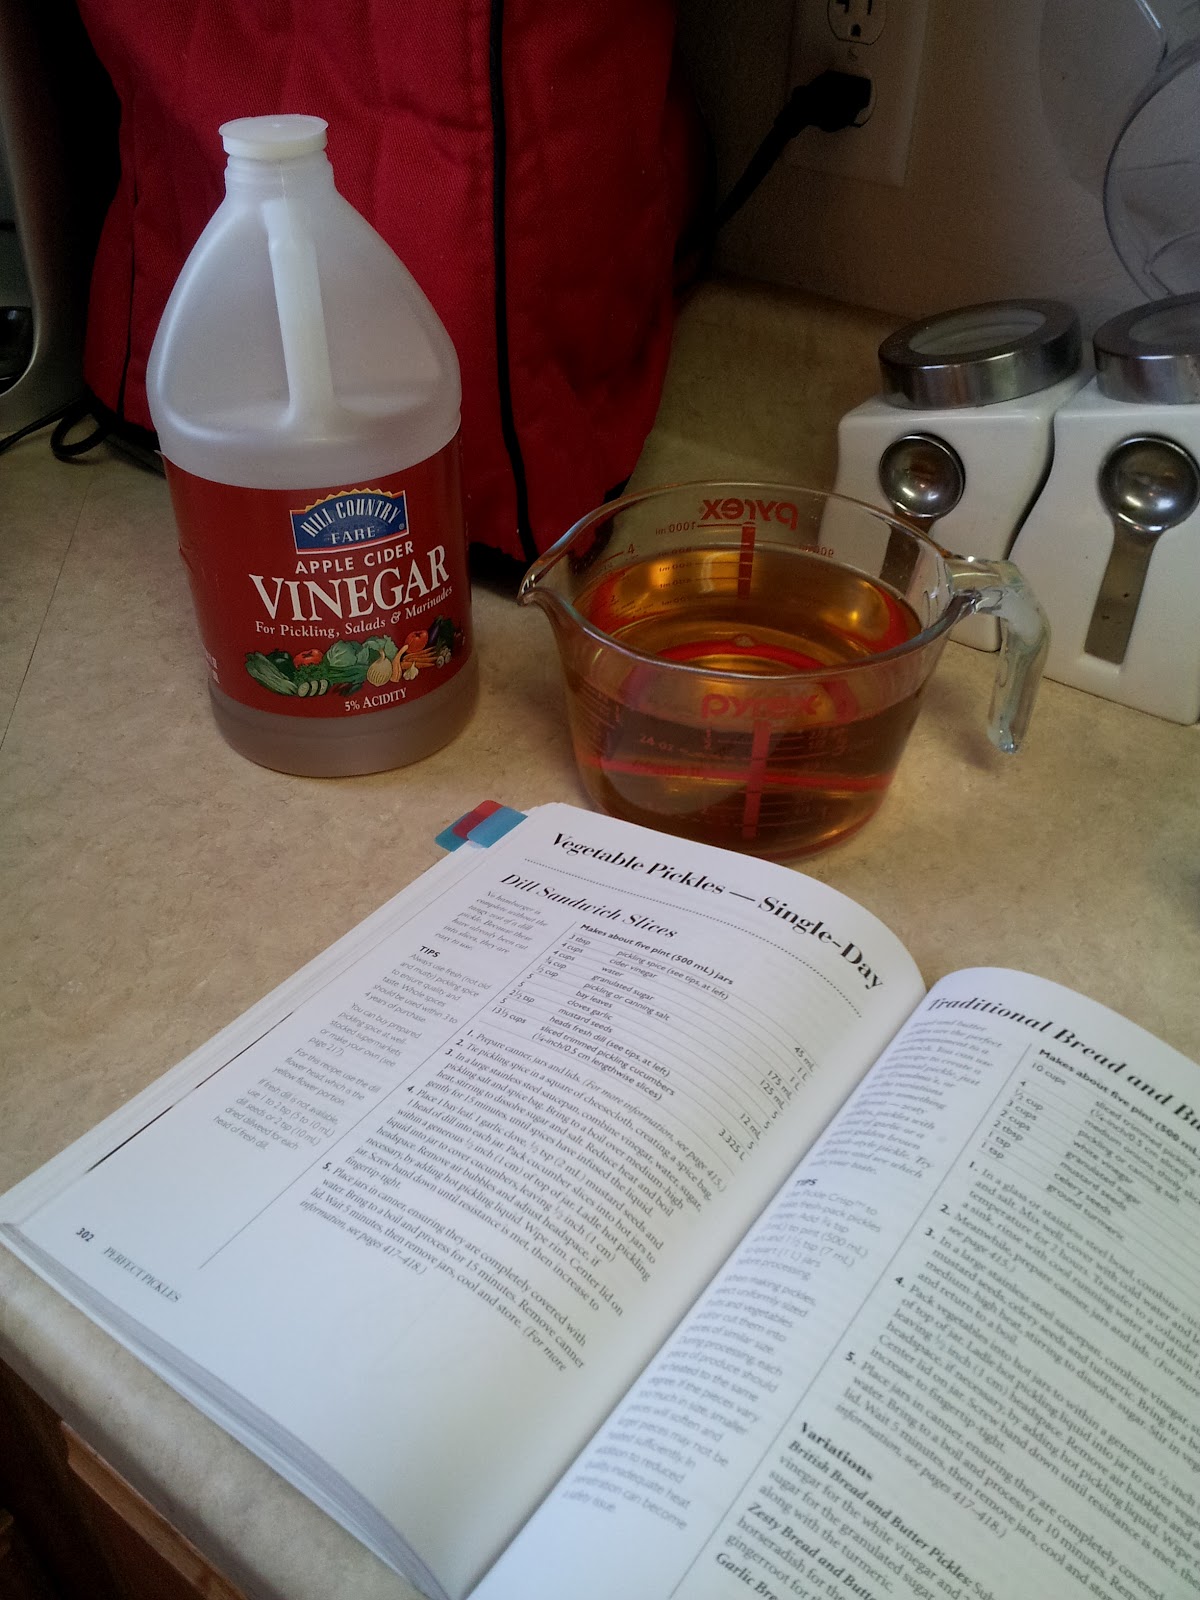
For the brine you will need:
Four cups apple cider vinegar
Four cups water
1/2 cup canning or pickling salt
3/4 cups sugar
2 tablespoons pickling spice in cheesecloth
1 Teaspoon mustard seed per jar (for cucumbers)
1 tablespoon dill or 4 fresh dill heads per jar (Cucumbers)
Pickle crispers (Optional)


Okay first thing is first. You don't want anything nasty getting into your pickles so you have to clean EVERYTHING. Every surface, every pot, every utensil must be sterile. Wash your veg, wash your jars. You can run your jars through the dishwasher and leave them in on the high heat dry to sterilize, or place jars in the canning pot covered by an inch of water and boiled for ten minutes at least. They MUST stay hot. So leave them be until you are ready to fill them. Fill your canning pot with water and all your equipment: ladle, funnel, lifters, bubble burster, etc, and let it come to a boil and maintain that high heat until you need everything along with the jars, if you can. Put just the caps in a small pan of water that has been boiled and the burner turned off and keep hot on a back burner until they are needed.


In your pot, combine the water, sugar, salt, vinegar and the cheesecloth of pickling spices. Let this come to a boil to let the sugar and salt dissolve. Meanwhile, wash your veggies and pat them dry. I'm leaving the peppers whole and slicing the cucumbers. I plan to have one large quart jar of dilled slices, a pint jar of jalapenos, and a pint of jalapeno/cucumber mix.


Now here's the fun part. Pack your jars! Add the mustard and dill to the jars you want to have those flavors first. Then pack them with the veggies until you have about one inch of space between the vegetables and the top of the jar. This is called head space and allows for air expansion. Now, using your funnel and ladle, fresh out of that hot water, ladle the brine over the veggies, still keeping that head space. Using a plastic knife or ruler, anything non-metallic, slip it along the sides to release air bubbles. Add pickle crispers if you wish. Wipe the sides of the jar. Use the cap lifter to put the caps on the jars, do not touch the sides of the cap! This will contaminate them! Screw on the bands finger tight.


Carefully, using either a canning basket, or a jar lifter, place the jars in the hot water of the canning pot. Try to keep the jars from touching and keep about an inch of water over the top. Bring to a boil. Maintain the boil for 15 minutes. This creates the needed heat to kill off organisms and create the vacuum to seal the lids. After the time elapses, carefully remove from the canner and allow to cool in a draft free area on a cooling wrack. You will hear DING! As the lids seal. I love that sound! Do not push or press on the tops of the lids. Let them seal on their own. It can take hours. So just leave them overnight. Make sure you label them too, with the month and year. You will have to let them sit in a dark pantry for about two weeks before you eat them. But they will be well worth it!


It is incredibly rewarding to make something like this yourself. Especially when using produce you grew yourself. Canning and pickling may seem scary, but once you know the basics and how to do it, you'll find its quickly addicting!
Brightest Blessings!
No comments:
Post a Comment