It was not too long after all this that a dear friend from Circle, affectionately known as Spider-Man due to his fondness for posting spider photos on Facebook and tagging all us ladies in them, had gotten orders to deploy to Afghanistan as well. Upon learning of this, my friend Danyale said to me that she had read of a woman who canned homemade meals, like stews, soups, beans and even a kind of pot roast for her son and sent it overseas to give him a taste of home. She wondered if we could somehow do the same for my husband and Spider-Man. So we went to work on figuring out some recipes to utilize. I successfully canned a chili I made from throwing together ingredients I had on hand using my Rancor pressure cooker. Now that we knew we could do it, it was time to get to work. But first....I needed a bigger pressure cooker! My poor Rancor could only handle four quart jars at a time, and five pints. We have men to feed! That was not nearly enough! So I sweet talked my honey into a Presto 16 quart model that can do eight pints at a time! It was showtime!
I decided one evening that it was time to try out my new pressure cooker and I had found a beautiful goulash recipe specially made just for canning. So I headed off to my local HEB the next day and got all my ingredients to get it going and now I am going to share it with you!

Now I doubled the recipe but this is the original:
4 pounds beef chuck roast cubed into stew meat sized peices
1 tablespoon of salt (use either kosher or pickling, never iodized for canning)
3 tablespoons paprika
2 teaspoons dry mustard
1/3 cup of oil
6 stalks of celery cut in half (I cheated and bought pre chopped)
1 cup of water
1/3 cup of vinegar
3 bay leaves
20 peppercorns
2 teaspoons caraway seeds
3 medium onions cut in half (again cheated bought the pre chopped kind)
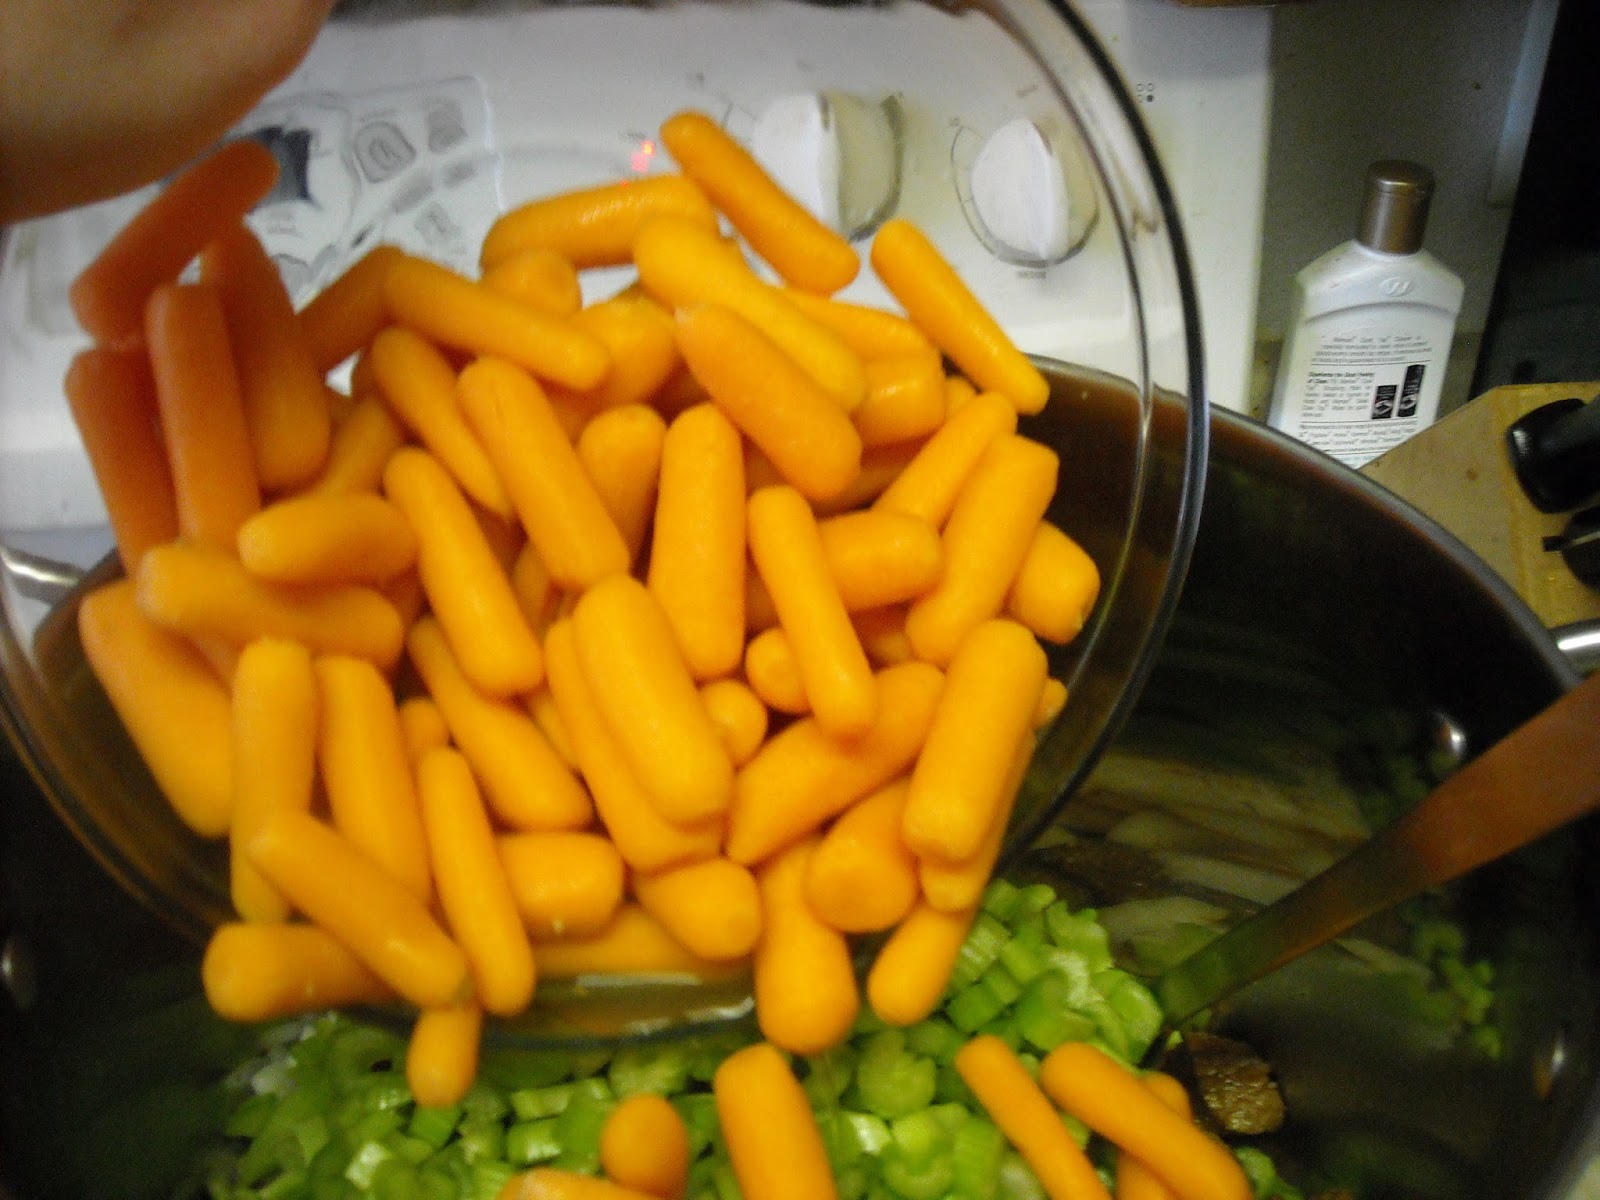
4 large carrots cut in half (I used baby carrots here, about a bag will do)

Mix the salt, paprika and mustard together. A whisk is very helpful as paprika likes to clump a bit and it will get the spices nicely blended.

Heat the oil in a dutch oven over medium-high heat so it won't spit at you.

Now you may have to do this in batches, but brown the meat until all sides are seared.


Now in the recipe you are supposed to toss in the ingredients in the same pot you started cooking the meat in. I was originally planning to put this in a slow cooker until I realized mine was not big enough! (YIKES!) So instead, I got out my huge stock pot.
Add the meat to the stock pot.

Sprinkle the remaining seasoning blend over the top of the meat.

Add in the onions, celery, and carrots. Toss a bit to mix it all up.


Next lets get some liquid into this party. Add the vinegar and water.


Stir it around to get as much combined as you can and top it with your spice bundle.

Cover and let simmer for about 2 hours or until the meat is tender. Don't worry about how little liquid there seems to be. The onions and celery will soften and the meat will cook off, releasing juices that make a nice broth with the water and vinegar as it cooks.
Once the goulash looks like its about ready, its time to get your pressure cooker ready. Pressure canning is a little different than water bath canning. You still need to wash your jars, sterilize your tools, and get the caps in hot water that was boiled and then the burner turned off or left on low. Once the jars are clean, fill them about 1/4 of the way with water and set on the rack that sits on the bottom of the pressure cooker. Fill the pressure cooker with about three quarts of water. Turn the heat to high and bring to a simmer.

When the goulash is done, remove the spice bundle and throw it away.

Remove the jars from the pressure cooker, pouring out the water, and set on a towel on the counter. Don't want it sliding around as the bottoms are wet.

Ladle the goulash into hot jars with 1 inch of head space. I got a handy dandy new funnel that not only keeps the jar rims clean, but helps me measure proper head space.

Run a plastic knife, handle or bubble popper around the edges of the jar to remove air bubbles.

Wipe the rims just in case, better safe than sorry you know!

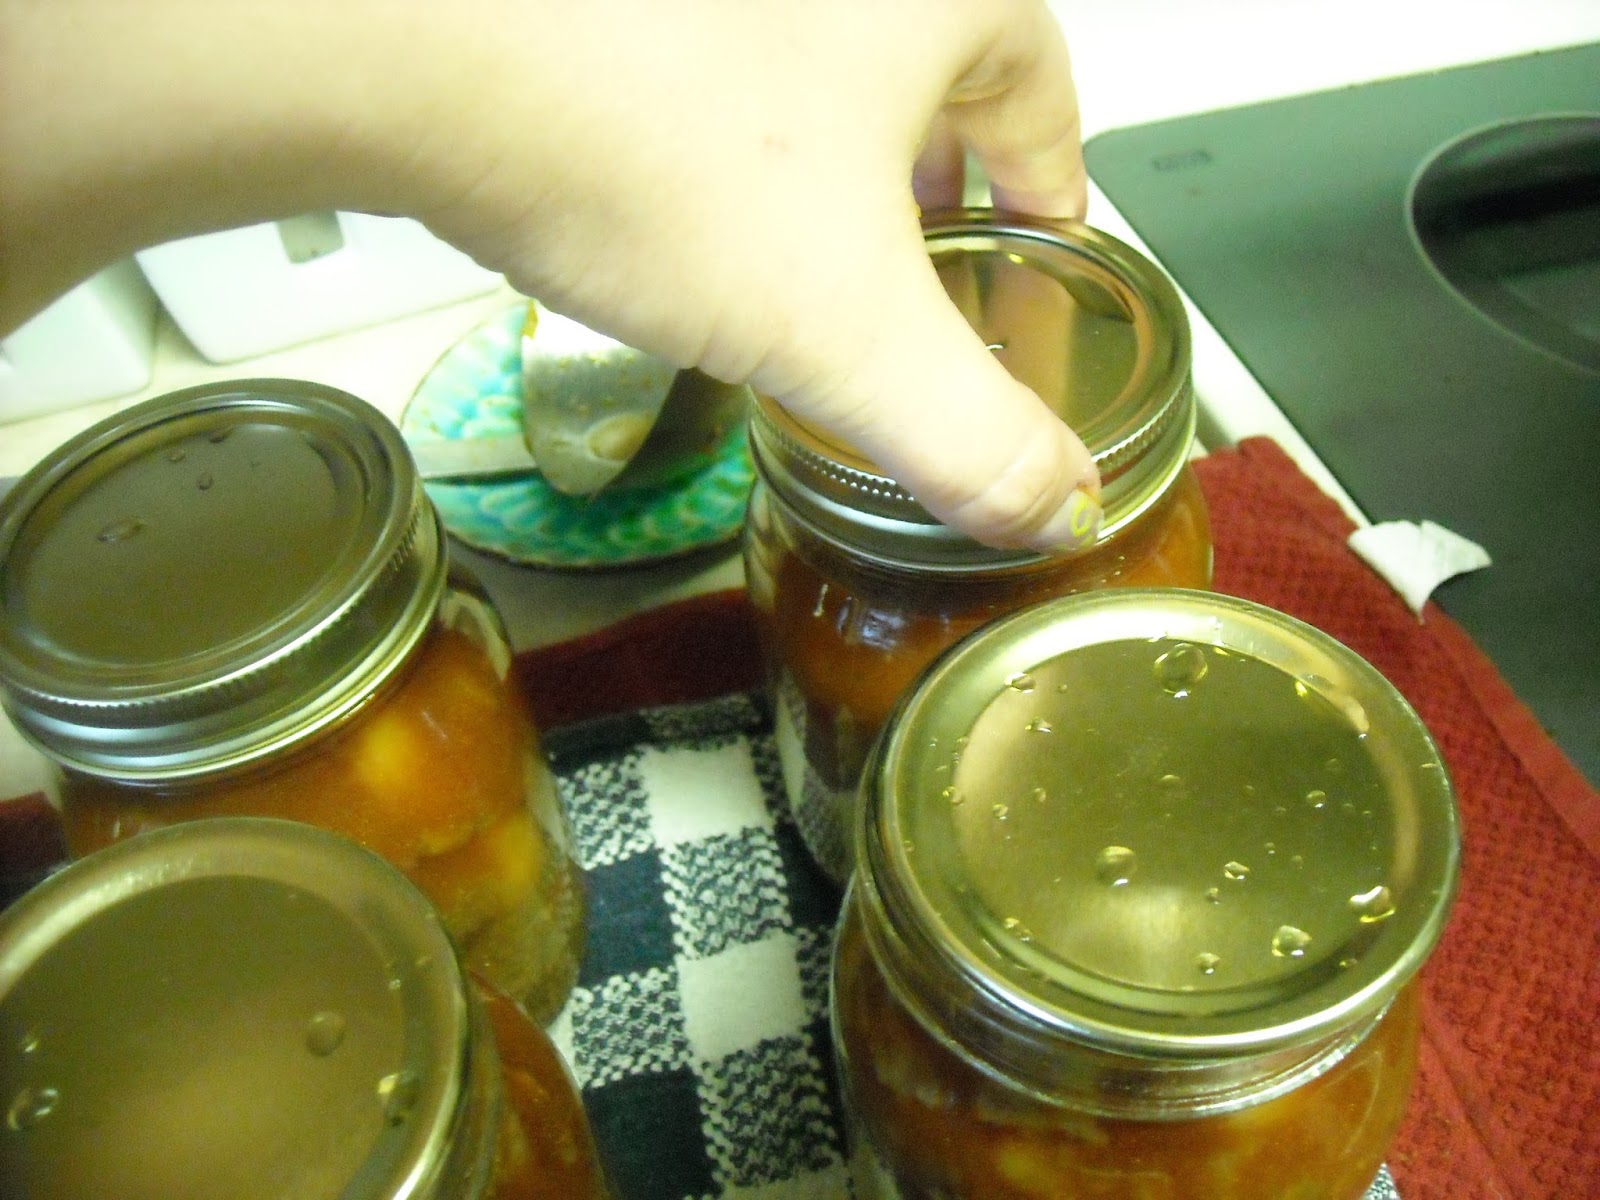
Cap the jars.

Place screw bands on and tighten to just finger tight.
Gently place inside the pressure cooker making sure to leave space between the jars. You want steam and heat to be able to circulate without any trouble.
Note: NEVER put the jars in the pressure cooker or water bath pot canner without a rack at the bottom. The jars WILL shatter if they are in direct contact with the bottom.

Place the lid on the pressure cooker and lock in place.

When the time has elapsed, turn off the heat. DO NOT remove the weight, move the canner, or attempt to open the lid. Allow the canner to return to pressure naturally. You will know when it is safe to remove the weight and open the lid when the silver button slips back down, unlocking the lid. Then you may remove the weight, and open the lid to remove the jars. They will be hot, so be sure to use your jar lifter tool.

Let the jars cool somewhere undisturbed for 24 hours. Label with the contents and date, then store.

This was my first adventure doing a large batch of canning in a pressure canner, and I have to admit it sounded scary at first but it proved to be easy and fun! Now I can make tasty homemade foods for my husband and friend without all the preservatives and chemicals found in those microwave meals I was sending before. I am hoping to find a great many more recipes to share and make to not only feed my hubby, but to also stock up my own pantry! It can be economical, healthy and fun to do your own home preserving and canning, especially when you get a bunch of friends involved like I tend to do. Check out some great books like the Ball Guide to Canning (The go to tome of home preservers everywhere!) Food in Jars by Marisa McMclellan or check out this amazing site! Not only are there recipes, but tips to get you started! www.sbcanning.com. Have fun!
Brightest Blessings!
So awesome. I wish I had half your passion for cooking. :)
ReplyDeleteHonestly its how I destress and keep my sanity. I enjoy it so much though. Just wish it didn't make my feet and legs hurt lol.
ReplyDelete